PleinAirPainting
How to Paint Plein Air in the Rain: Gear, Technique, and UK Survival Tips
A practical guide to plein air painting in the rain with UK planning tips, shelter and umbrella choices, panel recommendations, and fast tonal techniques for wet sessions.

Key takeaways
- • Use short-range Met Office radar to pick 30–60 minute windows between showers.
- • Prioritise fixed shelter; treat a white clip-on umbrella as a supplement, not a substitute.
- • Work on rigid, well-primed panels rather than stretched canvas in wet conditions.
- • Simplify your palette, block in sky and ground first, then paint large tonal masses and loose reflections.
- • Know stop signals: continuous water film on the panel, dangerous gusts, or hands too cold to work.
Plein air painting in the rain is something many UK artists have considered and then talked themselves out of. The forecast looks grim, the bag stays in the hallway, and another wet afternoon passes unpainted. That's understandable. But with a workable setup and a bit of forward planning, rainy sessions are not only achievable, they can produce some of the most atmospheric and tonally satisfying work you'll do all year.
This guide covers everything you actually need to know: how to read UK rain so you can plan around it, what gear makes a wet session workable, how to approach the painting itself under time pressure, and when conditions have genuinely beaten you for the day.
Why Rain Is Worth Painting (Not Just Tolerating)
There's a reason so many painters return from rainy sessions with work they're proud of. Wet conditions strip away complexity. The light flattens into a cool, diffuse overcast that holds steady for far longer than shifting sunlight ever does, which means your values aren't constantly chasing each other around the canvas. That stability is genuinely useful, especially for painters who find direct sun challenging to work in.
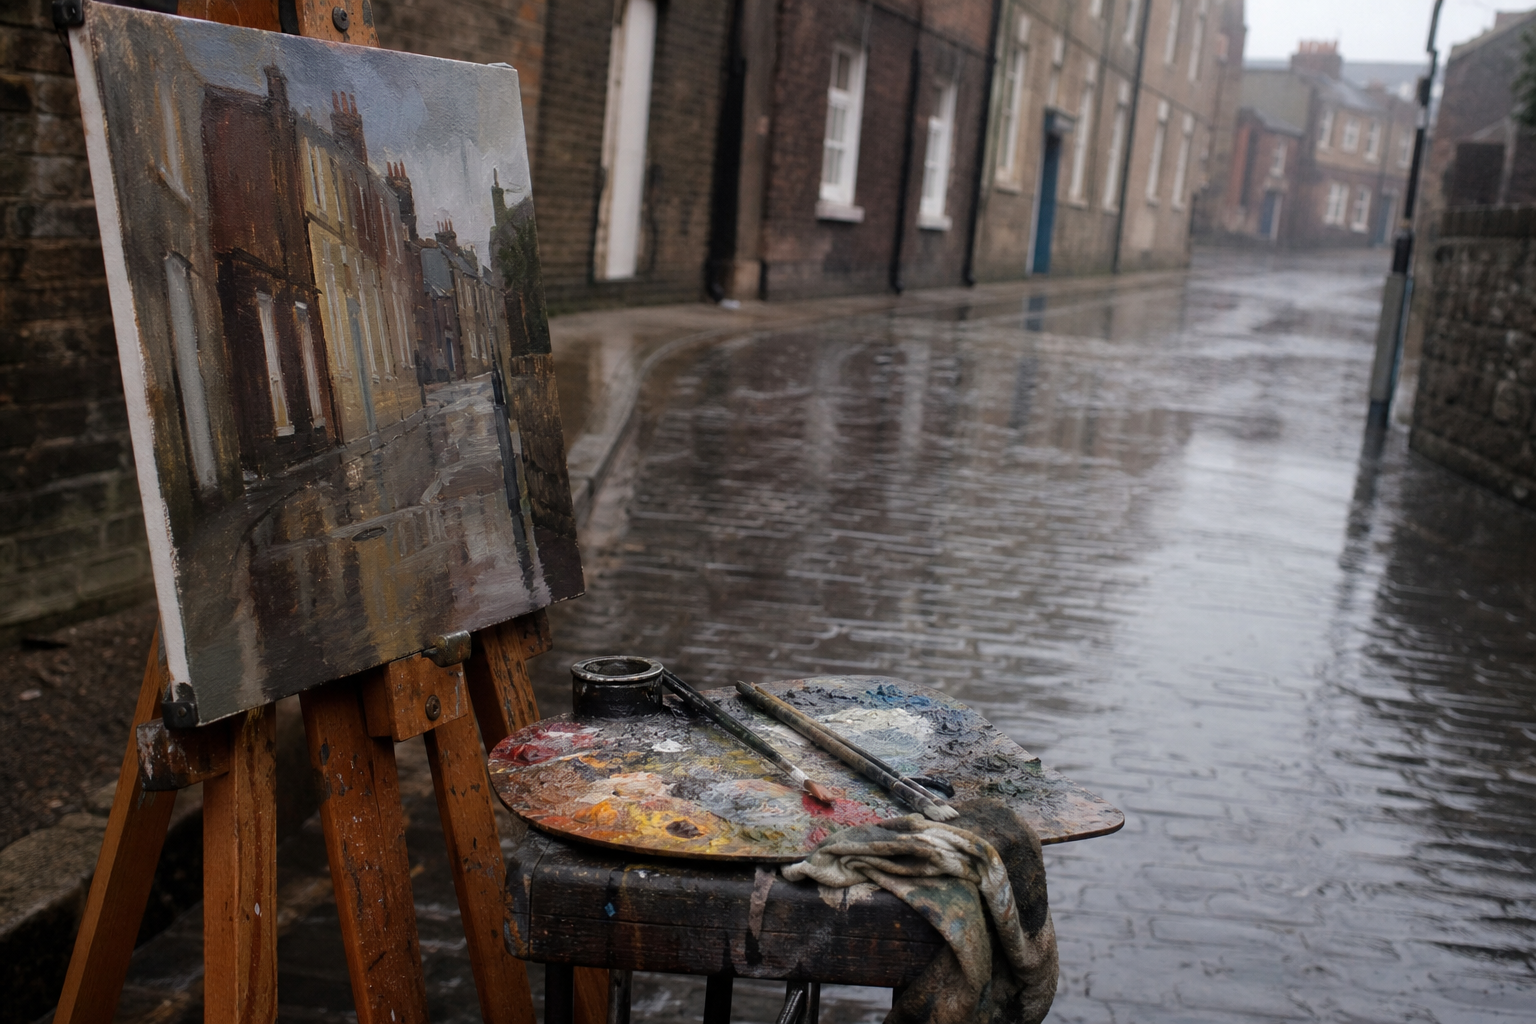
Wet pavements and roads become mirrors. Cobbled streets, tarmac, harbours and canal towpaths all transform when soaked, throwing back simplified reflections of sky, lamplight, and buildings in a way that does a lot of the compositional work for you. Moorland and woodland under heavy overcast take on a tonal richness that sunny days simply don't offer. Urban scenes, in particular, come alive in the rain: coloured umbrellas, wet road markings, figures hunched against the weather, all of it adds life and specificity to a painting.
None of this means rainy painting is easy. It takes more planning than a clear day, and your working time is genuinely constrained. But the rewards are distinct, and they're available to any painter willing to prepare properly.
Understanding UK Rain (and How to Work With It)
The Three Types of Rain You'll Encounter
Not all rain is the same, and treating it as one uniform problem is a mistake. In practice, UK outdoor painters encounter three broadly different conditions.
Drizzle and light rain is the most workable. An umbrella over the easel and some tree cover or a building overhang will usually give you a comfortable session. The surface stays relatively dry, and you can work for 60 to 90 minutes without serious problems. This is your best-case wet-weather scenario, and it happens often in Britain.
Heavy showers arrive and pass in bursts. If you have some shelter, the pattern of working through a shower, pausing briefly, and picking up again as the front clears is entirely viable. Burst painting, where you establish your key tonal masses in the dry gaps and refine during lighter spells, suits this kind of weather well.
Persistent heavy rain with wind is the hardest to work in. Unless you have serious fixed shelter (a deep arch, a van, a covered viewpoint), this is mostly a day for observation and thumbnail sketching rather than a full session. There's no shame in knowing that; it keeps your gear intact and your patience intact for the next attempt.
Using the Met Office to Plan Your Session
The Met Office radar is your most useful planning tool. The short-range forecast and the radar loop together give you a clear picture of when showers are moving through your area and how long the gaps between them are likely to be. A 30 to 60 minute window between two fronts is often enough for a strong tonal study.
Check the forecast in the hour before you leave, not the night before. UK weather at the local level can shift quickly, and the radar loop (available on the Met Office app and website) shows you exactly what's arriving and how fast. Looking for a spell of lighter rain following a heavier band is often the sweet spot for a productive session.
Setting Up for a Rainy Session: What You Actually Need
Shelter First, Umbrella Second
The single most important thing you can do for a rainy plein air session is find good shelter before you even think about setting up the easel. A painting umbrella is a useful supplement, but it's not a substitute for real cover.
Work through the hierarchy before choosing your spot. A deep building overhang, a bridge or railway arch, a covered market, a café frontage with a wide canopy: these give you protection on all sides, not just overhead. A car tailgate is a practical and underappreciated option for painters who drive to locations. Park facing your subject, open the boot, and you have an instant mobile mixing station and rain cover. Painter Peter Brown is well known for using this approach to work in conditions that would defeat a conventional easel setup, and it works well.
The umbrella becomes genuinely useful once you have some partial shelter and need to protect the panel and palette from an angle of rain. In fully open ground with no fixed cover, a clip-on umbrella in anything above light wind is a struggle. Don't put yourself in that situation if you can avoid it.
Choosing a Plein Air Umbrella for UK Conditions
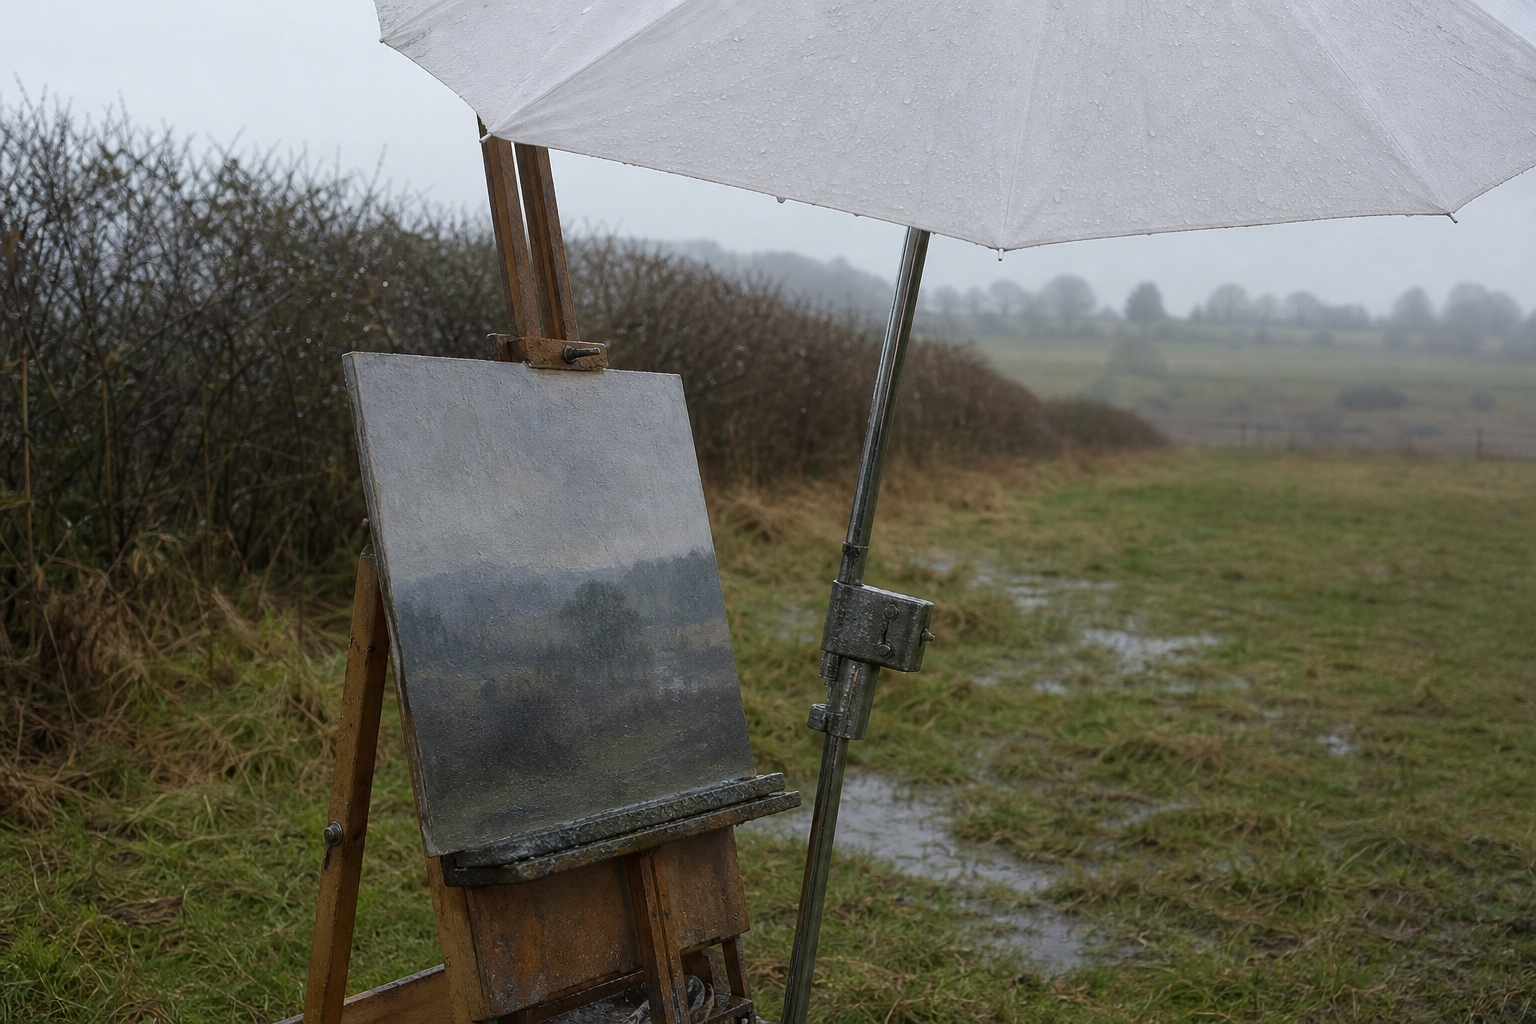
The right umbrella makes a meaningful difference to your wet-weather sessions. The wrong one is either useless in wind or casts a shadow that ruins your ability to judge values accurately.
Canopy colour is the first thing to get right. White or very light cream is the only sensible choice for a painting umbrella in the UK.
Why your umbrella should be white
A dark umbrella blocks the already-limited light in rainy conditions and casts a coloured shadow over your palette and panel. A white canopy reflects diffuse daylight downward, giving you a much more accurate read of your values and colours.
Span matters too. Aim for roughly 80 to 100 cm across the canopy so it covers both your panel and your palette without you having to crouch awkwardly underneath it. Clamp quality varies considerably: check that any umbrella you're considering is compatible with your tripod leg or easel post before buying, as a poor fit leads to constant rotation and repositioning in even a light breeze.
Wind behaviour is probably where most cheap umbrellas disappoint. Positioning the umbrella low and angled toward the source of rain, rather than held high and flat, reduces wind resistance and protects the panel better. In sustained gusts above roughly 20 mph, most clip-on umbrellas become a liability regardless of price. Know when to drop it and rely on your fixed shelter instead.
In terms of UK pricing, budget around £25 to £40 for a basic clip-on umbrella. At this price point you'll get something that works adequately in light rain, but clamp reliability is the main weakness. Mid-range options in the £40 to £80 range are more dependable for regular UK use, with better clamp mechanisms and more robust canopy materials. Higher-end systems above £80 exist and are worth it if you paint in wet conditions regularly. UK art suppliers including Jackson's Art and Ken Bromley carry umbrella options, and photographic equipment suppliers often stock compatible clip-on models that work well with standard tripod legs.
Easels, Panels, and Surfaces That Handle Damp Well
A tripod-based pochade box or box easel is the most stable wet-weather setup. It keeps your palette off wet ground, centralises your kit, and handles uneven damp terrain better than a traditional A-frame. Whatever easel you use, tilt the panel very slightly downward so water runs off the surface rather than sitting on it or running into the lower edge.
Surface choice matters a great deal in the rain. Rigid panels outperform stretched canvas significantly in damp conditions.
| Surface | Rain resilience | Notes |
|---|---|---|
| Gessoed MDF panel | Good | Rigid, sheds water, affordable |
| Aluminium composite panel | Very good | Won't warp or absorb moisture at all |
| Birch ply panel | Good | Solid and light; seal the edges well |
| Stretched canvas | Poor | Can sag or distort when wet; avoid in heavy rain |
| Canvas board | Moderate | Better than stretched canvas but can delaminate if soaked |
A well-primed smooth surface sheds water droplets more effectively than a coarsely textured or underprepared ground. Aluminium or carbon tripod legs resist the swelling and collapse that can affect cheap wooden alternatives during long wet sessions. Jackson's Art and Ken Bromley both carry a good range of rigid panel options at various price points. It's worth picking up a wet panel carrier as well: transporting fresh oil work in the rain without one is an unhappy experience.
Clothing and Personal Comfort
Cold hands are the thing that ends most rainy sessions before the weather does. A waterproof shell over warm layers is the starting point, ideally with a wool mid-layer that retains some warmth even when damp. A wide-brimmed waterproof hat keeps rain off both your face and your palette, which matters more than it sounds when you're trying to judge colour.
Fingerless gloves are the practical choice for brush work: they give enough hand warmth to keep your fingers functioning without losing the feel of the brush. A pair of chemical hand warmers tucked into your pockets extends your effective working time considerably in winter or early spring. Waterproof boots are worth the effort if you're standing on wet ground for more than an hour.
Technique for Painting in the Rain
Simplify Your Palette Before You Start
A rainy session is not the day to experiment with an eight-colour palette. Three to five colours plus white gives you everything you need and reduces the decisions you have to make under time pressure. Work with low solvent use, particularly in the initial lay-in. Lots of solvent in cold, damp air can behave unpredictably, contributing to poor adhesion and uneven drying. Many experienced painters work almost neat in the first pass on a wet day, relying on the lean-over-fat principle and keeping the lower layers thin and solvent-free.
Work Big Shapes and Values First
Time is the defining constraint of plein air painting in the rain. A continuous water film on the panel surface can develop within 30 to 90 minutes in steady rain, after which oils won't adhere reliably. That means your session structure has to be tight. Sky and ground (pavement, road, river, wet field) first, always: these two elements set the entire tonal key of a wet-weather painting and everything else is read in relation to them. Once those are in, the main masses follow as simplified tonal blocks. Detail is optional and should be treated as such.
A rainy session in five stages
Before you set up
Check the forecast, choose a viewpoint with shelter, and decide your composition before the easel comes out.
Block in sky and ground values
Lay in the lightest light and darkest dark to key the whole painting. Pavement and sky first.
Mass in the main shapes
Buildings, trees, vehicles, and figures as simple tonal blocks. No edges, no detail yet.
Add the wet-weather accents
Reflections in puddles, light sources, coloured umbrellas, wet road markings. These are what make the painting sing.
Know when to stop
When the panel shows a continuous water film or your hands are too cold to control the brush, protect the work and leave. Come back on a drier day to refine.
Capturing Reflections and Wet Light
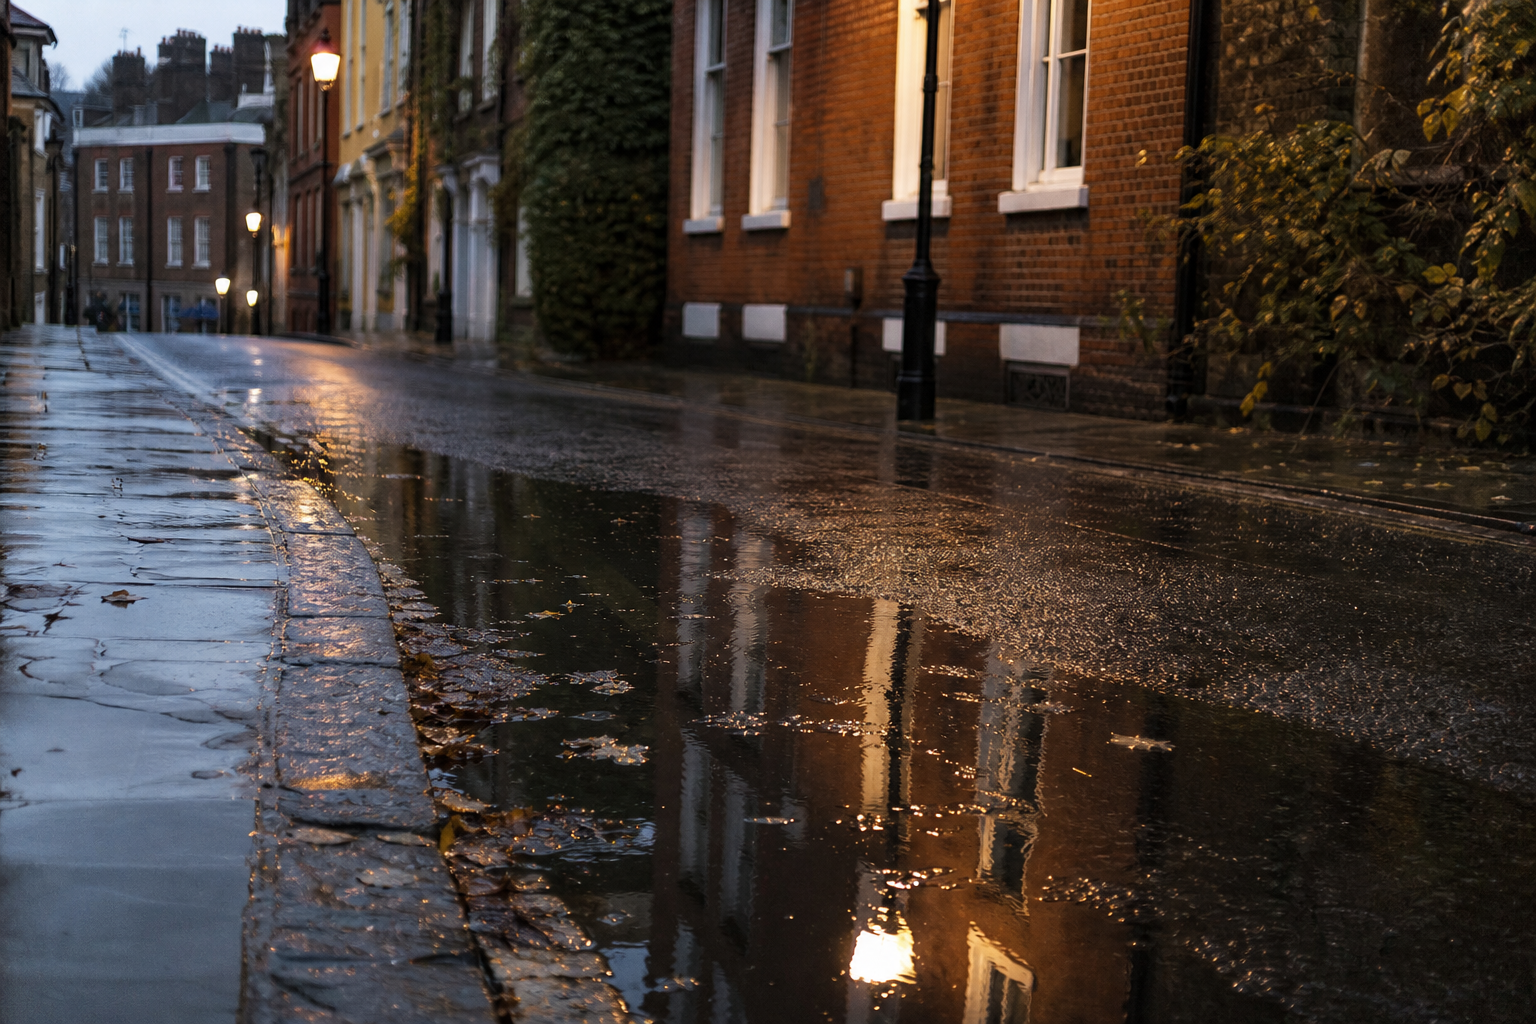
Reflections in wet pavements, puddles, and wet roads are what make rain paintings immediately recognisable. The temptation is to paint them in detail, matching every reflected window and kerb stone. Resist that. Wet-pavement reflections read as horizontal bands of simplified light, slightly darker and cooler than the light sources they're reflecting. Keep them loose and gestural: a single horizontal stroke of mixed colour placed with intention reads far more convincingly than a carefully observed copy of what you can see.
Look for where the brightest reflected light sits (usually directly below a light source or a pale area of sky) and work outward from there in terms of value. Keep the edges soft. Overworked reflections flatten very quickly into something that looks laboured rather than observed, and they're one of the areas where a painting made in wet conditions can lose the spontaneity that makes it worth doing.
What to Do on a Drier Day
A painting begun in the rain can almost always be finished in better conditions. Returning on a drier day to restore drawing accuracy and architectural detail, adjust colour temperature where the rain has cooled everything too uniformly, and consolidate the tonal structure is completely standard practice. What you should preserve are the spontaneous marks made in the wet session: the loose reflections, the gestural figure work, the instinctive colour decisions. These are the life of the painting, and painting over them in the studio usually costs you more than it gains.
Knowing Your Rights: Where to Set Up in the Rain
UK painters have fairly broad practical access to outdoor painting locations, though it's worth knowing the distinctions.
Public pavements and open streets are generally fine for a compact plein air setup, provided you don't obstruct pedestrian flow, shop entrances, or emergency access. Parks and National Trust land usually tolerate casual painting without any formal permission; commercial activities such as workshops or filming typically require prior contact and may involve a risk assessment and public liability insurance.
Railway arches and underpasses are popular painting spots and often offer excellent shelter. Be aware that some are managed by private landowners or carry no-loitering restrictions; if you're challenged, be polite and prepared to move. Private covered arcades and pedestrianised shopping streets are worth seeking permission for anything beyond a brief sketch, particularly if you're returning regularly or setting up for a prolonged session.
A word for workshop leaders
If you run workshops outdoors in rain, treat it as a separate risk category. A wet-weather plan, risk assessment, and public liability insurance are sensible steps, especially if you are working on land that requires permission.
When to Stop (and When to Stay Home)
Knowing when to pack up is practical wisdom, not defeatism. Rain can turn quickly from workable to genuinely problematic, and pushing through when the conditions have shifted against you usually costs you both the painting and your patience.
Signs it's time to pack up
A continuous film of water on the panel surface means oils won't adhere reliably and your work is at risk. Sustained gusts that make the umbrella or easel unstable are a serious signal to stop. If you hear thunder, do not shelter under trees. Pack down and find solid cover immediately.
Beyond those immediate signals, there are softer cues worth heeding. If your hands are too cold to place a brushstroke with any intention, the painting is already being damaged by the session rather than built. If raindrops are visibly denting or washing the paint surface, stop immediately and protect the panel. And if you've had a genuinely productive 45 minutes and the next front is arriving, leaving on a high note is always better than grinding on until something goes wrong.
Some days the weather simply wins. Britain delivers enough rain that you'll have plenty more chances. The sessions where you planned well, worked quickly to a strong tonal structure, and got out before conditions deteriorated are the ones you'll remember most fondly, and they're the ones that tend to produce the most honest, alive paintings.
FAQ
Frequently Asked Questions
Is plein air painting in the rain actually possible?
Yes. With good shelter, a sensible umbrella, a rigid panel and focused short sessions you can produce strong, atmospheric studies in wet weather. Plan using short-range radar and work quickly.
What umbrella should I use for rainy UK sessions?
Choose a white or light cream canopy about 80–100 cm wide with a robust clamp. Position it low and angled toward the rain. In sustained gusts above about 20 mph rely on fixed shelter instead.
Which painting surfaces cope best with rain?
Rigid panels are best: gessoed MDF, aluminium composite or sealed birch ply shed water and do not warp. Avoid stretched canvas in heavy wet conditions and use a wet panel carrier for transport.
How should I paint differently in the rain?
Simplify your palette to three to five colours plus white, block in sky and ground first, establish large tonal masses, and keep reflections loose and gestural. Use low solvent in initial passes.
Can I finish a wet-weather painting later in the studio?
Yes. It is common to return on a drier day to refine drawing, adjust colour temperature and add architectural detail while preserving the spontaneous marks made in the wet session.
Author

PleinAirPainting Editorial Team
PleinAirPainting.co.uk helps artists paint outdoors with confidence through UK-focused guides, equipment advice, resources and plein air inspiration.